How MowReview makes money: As an Amazon Associate, MowReview earns from qualifying purchases, at no extra cost to you. We don’t test mowers ourselves; we explain what manufacturers and independent testers report. How we research
Quick answer
Before a robot mower arrives, do the groundwork: level hollows and bumps, clear stones and debris, sort out a flat dock spot near an outdoor power socket, check that gaps between lawn areas are wide enough, and decide how you’ll handle edges the mower can’t reach. An hour of prep in spring prevents most of the problems new owners run into.
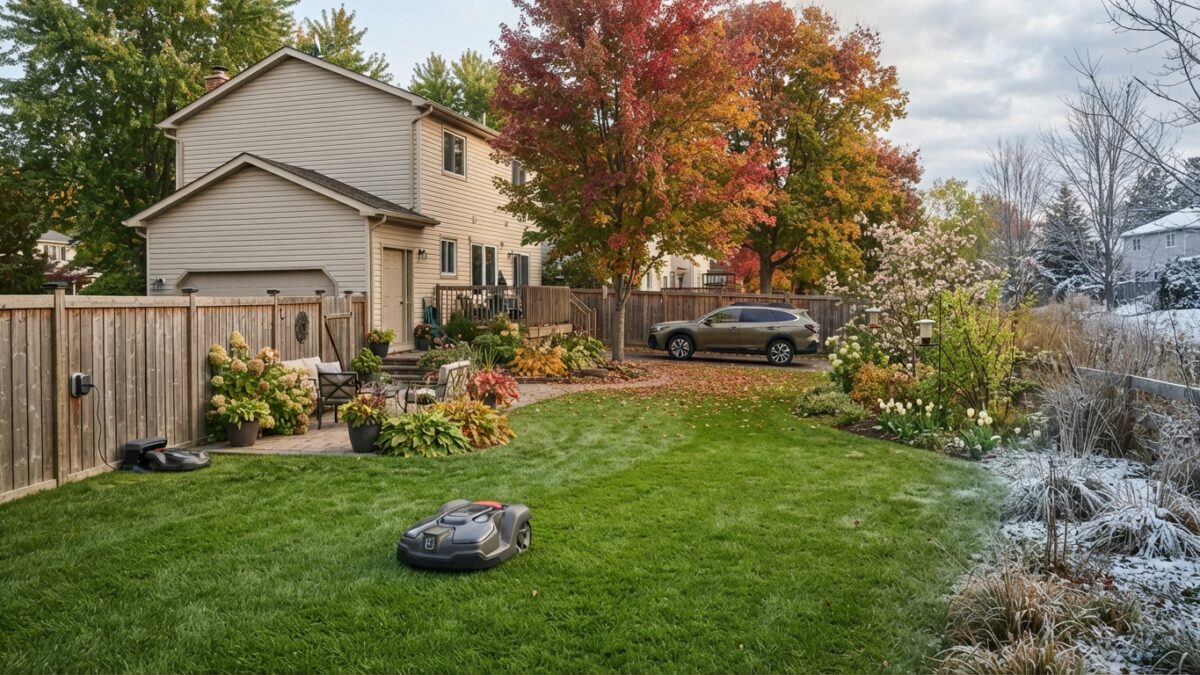
A robot mower works best on a lawn that’s ready for it. Spring, before you buy or before the new mower comes out of its box, is the time to prepare the ground. None of this is difficult, and it’s far easier to do before the mower is running than after it’s got stuck for the third time.
No purchase is required for this. It’s groundwork, not shopping.
1. Level the hollows and bumps
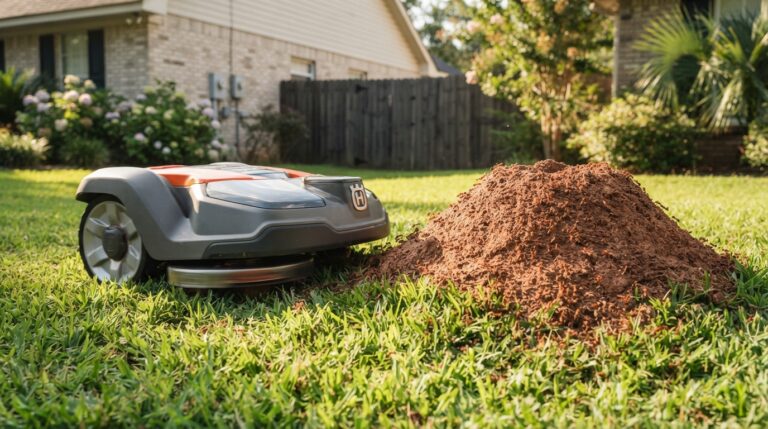
Uneven ground is the number one cause of a robot mower getting stuck or scalping the lawn. A wheel drops into a hollow and loses grip; a bump lifts the mower and it grounds out. Molehills, old post holes, settled ground and animal digging all create these.
What to do: walk the lawn and mark the dips and bumps. Fill hollows with topsoil and reseed; knock down or level bumps. Spring is ideal, because the repairs settle and the grass recovers before heavy mowing begins. This is the same fix our guide to a mower that keeps getting stuck recommends, done in advance.
2. Clear stones, debris and winter litter
Winter leaves a lawn scattered with fallen branches, twigs, stones thrown up by frost and general debris. Small hard objects dull or damage the blades, and larger ones stop the mower.
What to do: rake or walk the whole lawn and clear anything hard. Pay attention to spots under trees and along fences where debris collects.
3. Sort out the charging station spot
The dock location is one of the few things that’s awkward to change later, because moving it usually means remapping. Get it right before setup.
- Level ground, with a clear straight run in front so the mower can dock squarely.
- An outdoor power socket within reach. If you don’t have one near a sensible spot, arranging it now, before the mower arrives, saves a frustrating first day.
- Open sky above, not tucked under a deep eave, especially for satellite-guided mowers.
- Out of the way of foot traffic, car doors and the sprinkler pattern.
4. Check the gaps between lawn areas
If your yard has separate sections, a front and back lawn, a side strip, the mower has to physically get between them. Measure your narrowest passage, such as a side gate or a gap between beds, and compare it with the mower’s stated minimum width. Testers have seen mowers struggle in gaps only slightly wider than the machine itself.
What to do: where a passage is tight, widen it if you can, even by a few inches, or firm up a soft or gravelly stretch the mower would struggle to cross. If a gap simply can’t be made to work, plan to treat the areas as separate zones. Our guide to multiple zones covers this.
5. Decide how you’ll handle the edges
Many robot mowers leave a strip of uncut grass along walls, fences and beds, because they don’t cut right to the edge. This isn’t a fault to fix so much as a thing to plan for.
What to do: decide now whether you’ll run a trimmer along the edges occasionally, or install a mowing edge (a flat paver or brick strip flush with the lawn) that lets the mower’s wheels run right to the boundary. A mowing edge installed in spring is a permanent fix for the most common complaint about robot mowers.
Think about no-go zones before you map
Note everything the mower should avoid: flower beds, ponds, tree bases with exposed roots, play equipment, the vegetable patch. You’ll mark these as no-go zones during setup, and having the list ready makes mapping quicker and more accurate.
Laying new turf or sowing seed this spring? See using a robot mower on a new or newly seeded lawn.
6. Give the lawn a proper first cut
Robot mowers are designed to take a little off frequently, not to bring a long spring lawn down. If the grass has grown over winter, cut it with a conventional mower first, at a high setting, before the robot takes over. Then start the robot high and lower the cutting height gradually.
A spring readiness checklist
- Hollows filled, bumps levelled
- Stones, branches and winter debris cleared
- Flat dock spot chosen, with power and sky view
- Narrowest gaps measured and widened or firmed if needed
- Edge plan decided (trimmer or mowing edge)
- No-go zones noted for mapping
- Lawn given a conventional first cut if long
With that done, setting up the mower is quick and the first season runs smoothly. If the mower is new, our guide on how to set up a wire-free robot mower covers the mapping. If it’s coming out of winter storage, see the spring startup checklist.
Questions
How do I prepare my lawn for a robot mower?
Level hollows and bumps, clear stones and debris, choose a flat dock spot near an outdoor power socket, measure the gaps between lawn areas, and decide how to handle edges. Spring is the ideal time, since repairs settle before heavy mowing. Then give the lawn a conventional first cut if it’s long.
Do I need a special edge for a robot mower?
Not essential, but helpful. Many robot mowers leave a strip along walls and beds. A mowing edge, a flat paver or brick strip flush with the lawn, lets the mower’s wheels run to the boundary and cut closer. The alternative is trimming the edges yourself occasionally.
Should I level my lawn before getting a robot mower?
Yes, if it has noticeable hollows or bumps. Uneven ground is the most common reason robot mowers get stuck or scalp the grass. Fill dips with topsoil and reseed, and level bumps, ideally in spring so the lawn recovers before mowing ramps up.
Lawn ready? Now choose the right mower
With the ground prepared, match a mower to your yard’s size, slope and layout.